Workflow bronze portraits

workflow bronze portraits

the original portrait created with modeling wax the original portrait created with modeling wax after having made a clay division over the widest part of the portrait, kept moist with a wet towel, a first very thin and runny layer of rubber is applied on the front part the second layer of rubber is also quite thin, though thicker than the first layer the third layer is thick and sturdy and applied liberally over the previous layers and made smooth and even with soft soap after the rubber has cured, a thick layer of plaster is applied on the rubber to create a sturdy cover for the silicon rubber, right up to the perimeters of the clay partitioning wall. The clay is removed when the plaster has hardened. The thickness (and also a liberal bit over the edge) of the plaster is then smeared with soft soap detail of the rubber and plaster and soft soap the process of three layers of rubber repeats itself on the other side of the portrait on this side also,  a layer of plaster is applied. The mould is now complete when the plaster has hardened the two halves can be seperated with a spatula taking a picture of the mould (portrait inverted) gives an optical illusion the melting of casting wax carefully applying the casting wax directly on to the two halves of the rubber mould gives this result the two halves are joined and retouched on the joints, resulting in a completed replica of the original, ready to be cast in bronze castings out of the oven after having worked on it for another day or so, it is ready for patination the process of patination the patina in a cold state growing patina on the portrait the final result, patinated and Beautiful My Space Partner

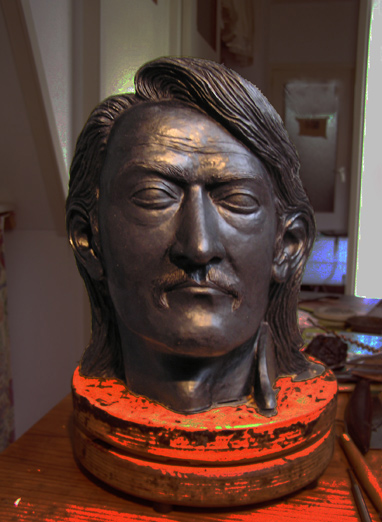
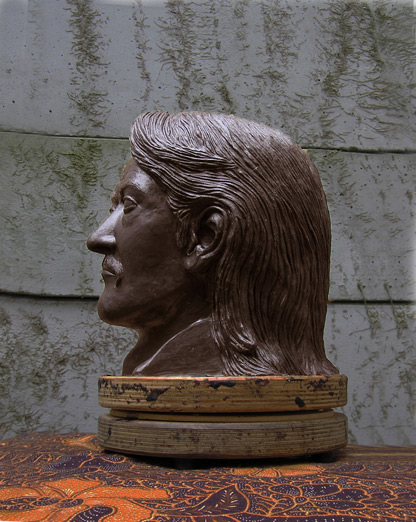
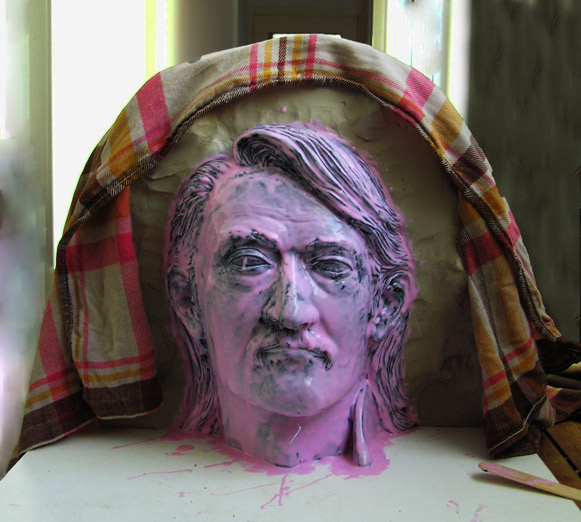
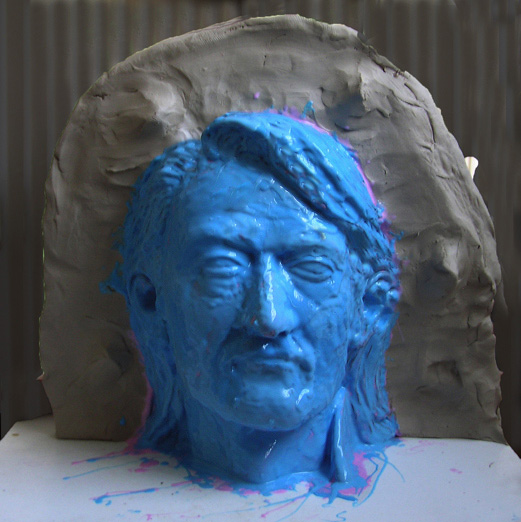
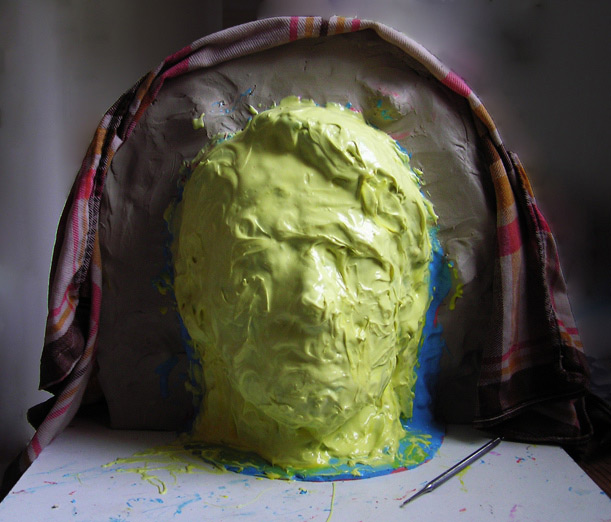
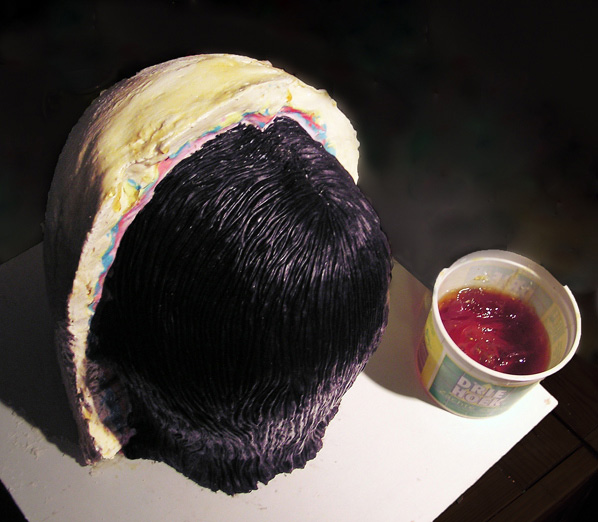
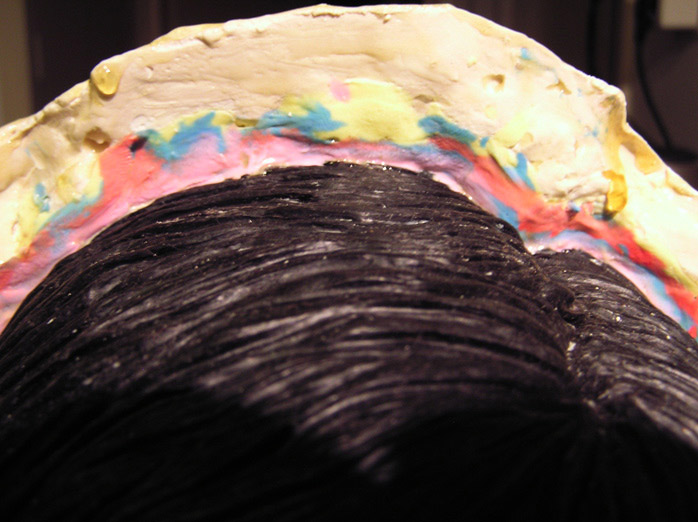
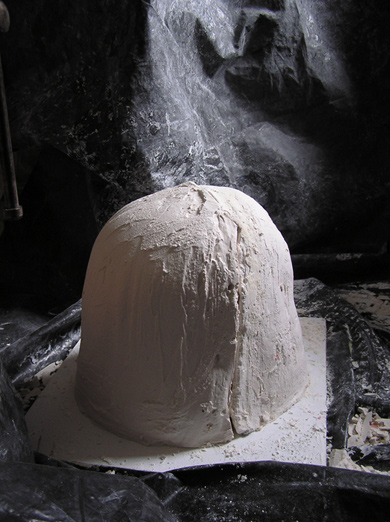
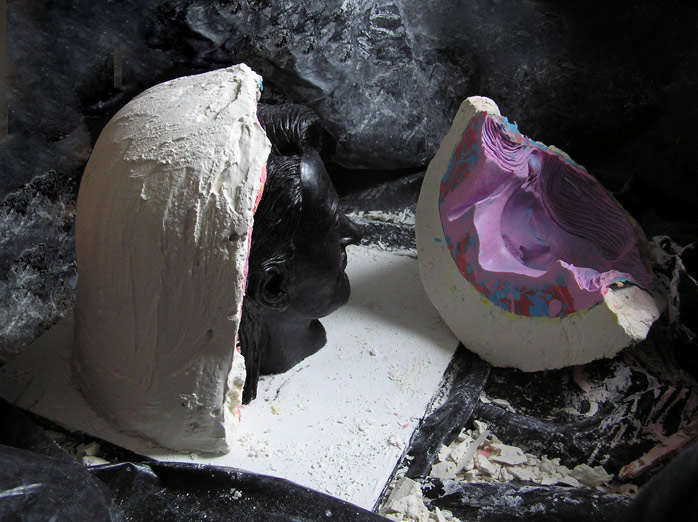
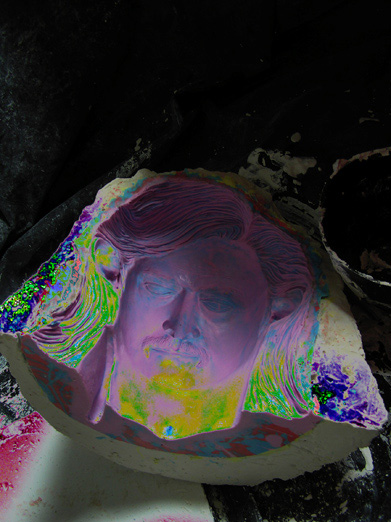
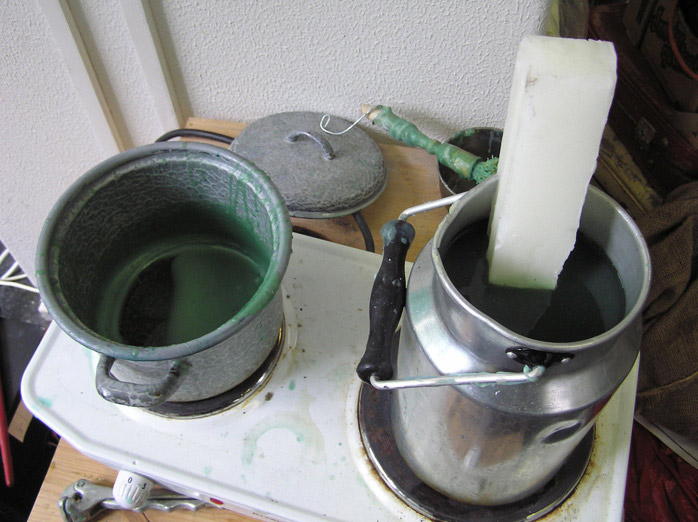
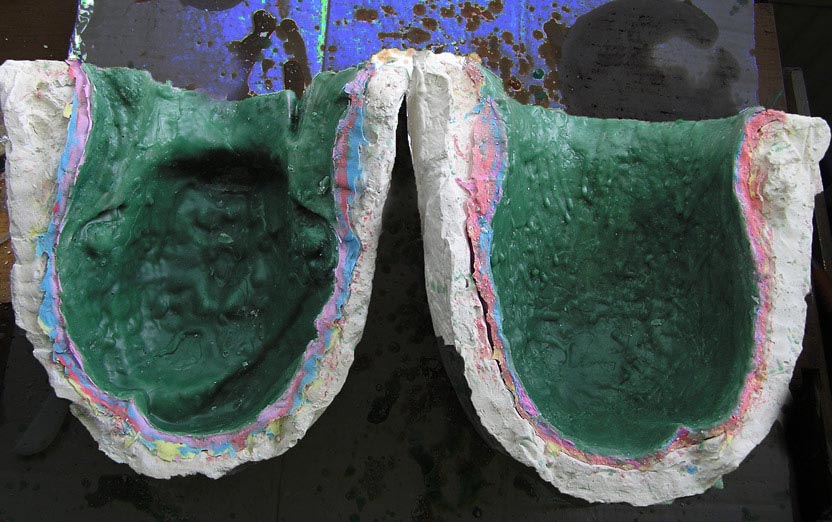
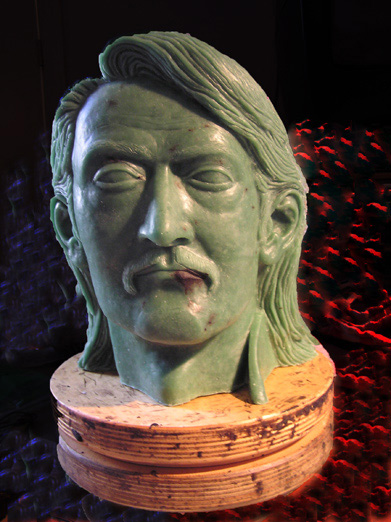
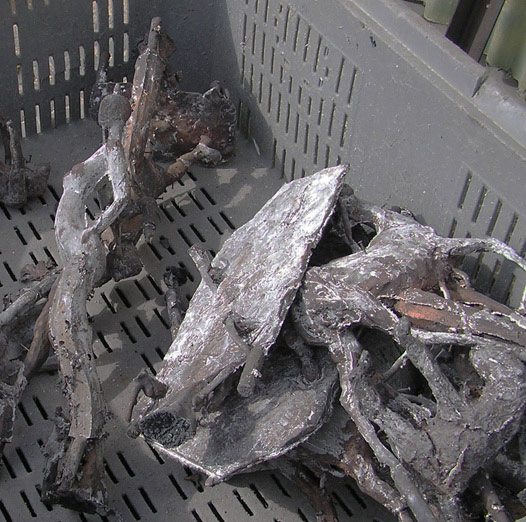
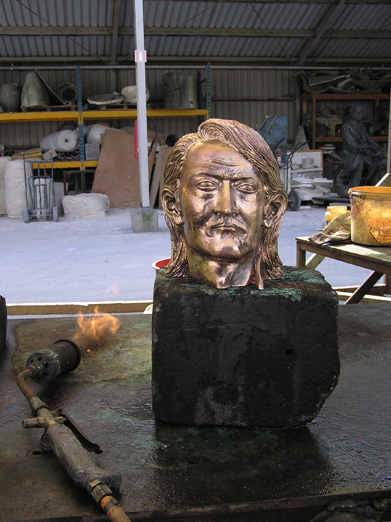
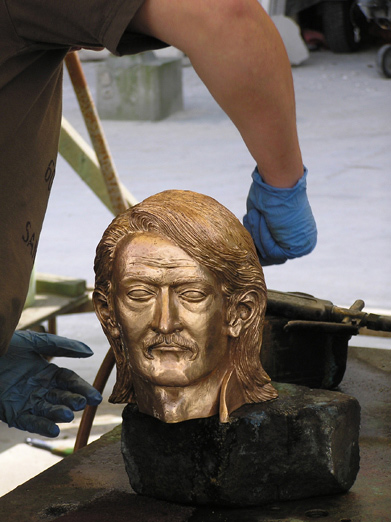
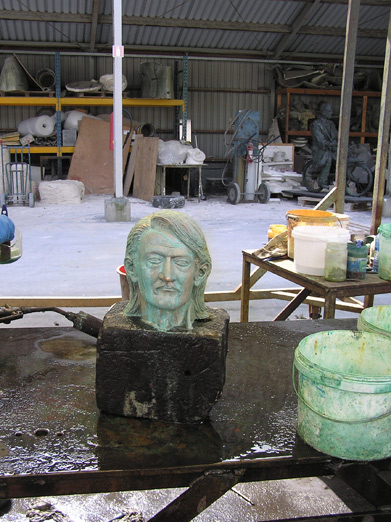
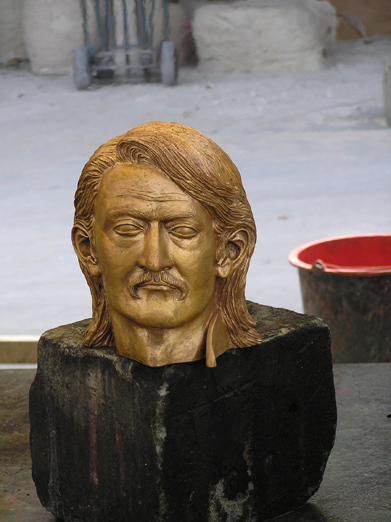
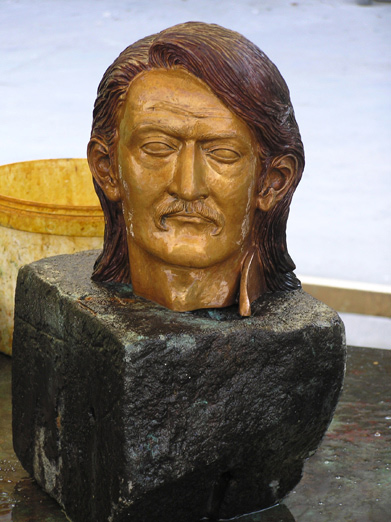
THE PROCESS OF CREATING A SILICONE MOULD, THE CASTING AND PATINATION OF A BRONZE PORTRAIT